
 Tiếng Việt
 ភាសាខ្មែរ
Have you ever wondered how to protect the appliances in your home from excessively high water pressure? Or how to ensure the water flow is always smooth and stable? The answer lies in a small yet incredibly important device: the pressure-reducing valve.
Installing and adjusting a pressure-reducing valve correctly not only helps your system operate more efficiently but also provides maximum safety and peace of mind. Join us as we walk you through each detailed step so you can confidently optimise your own water system!
Proper Technical Method for Installing a Pressure Reducing Valve
Below are the detailed step-by-step instructions for installing a pressure-reducing valve:
Preparation Before Installation
- Inspect the valve:
Ensure that the pressure-reducing valve has the correct size and material suitable for the pipeline and the type of fluid in the system (water, gas, steam, etc.). - 2. Select the installation location:
Choose a position that is easily accessible for maintenance, repair, and adjustment. The valve should be installed vertically on the pipeline; otherwise, its performance may be affected. - 3. Clean the pipeline:
Before installing the valve, thoroughly clean the pipeline to remove dust, rust, and debris. This prevents clogging and valve damage. - 4. Tools and accessories:
Prepare the necessary tools such as wrenches, adjustable spanners, PTFE tape (thread seal tape), sealing gaskets, and a pressure gauge.
Install the pressure gauge on the outlet side of the valve to monitor and adjust the pressure accurately.
Steps for Installing a Pressure Reducing Valve
Technical Guide for Installing a Pressure Reducing Valve
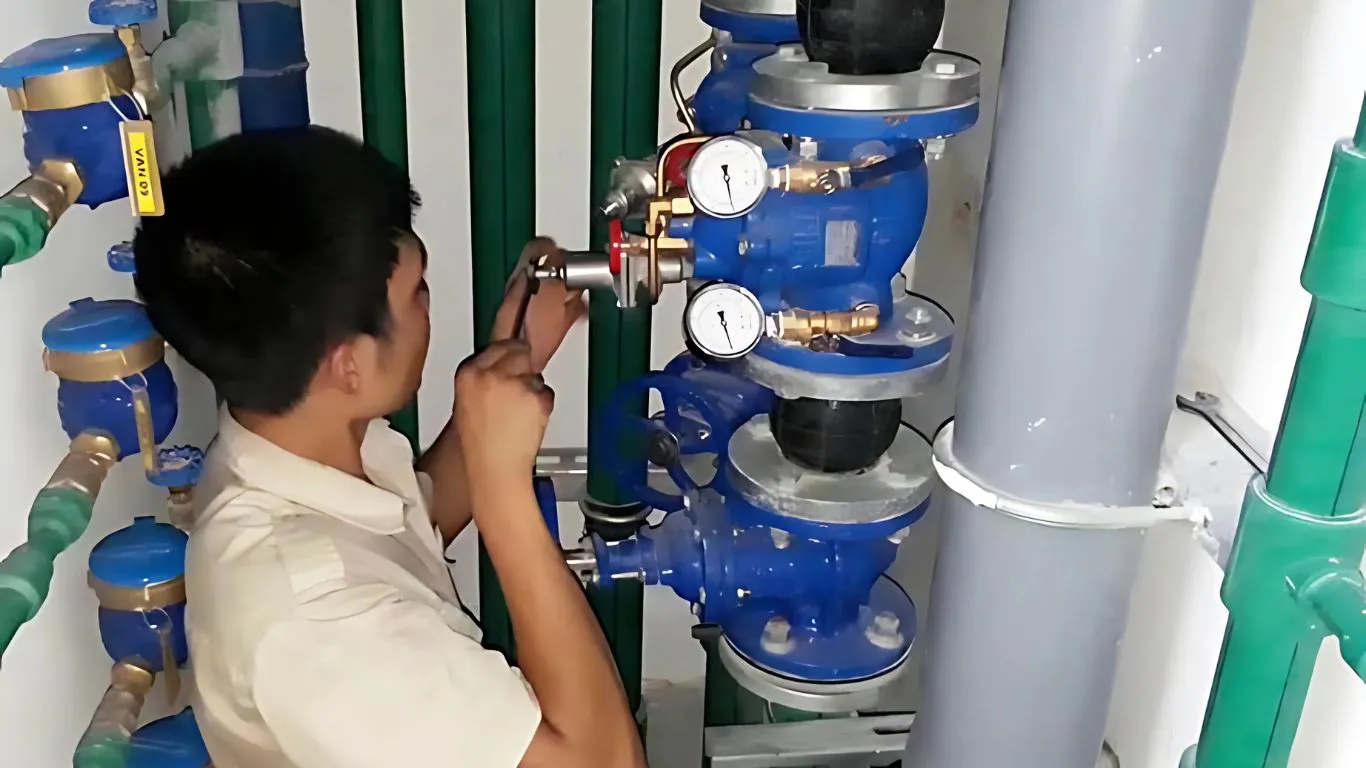
Step 1: Shut off the water supply
- Close the main water supply valve of the system.
- Open the lowest faucets to drain all remaining water and pressure from the pipeline.
Step 2: Install according to the correct flow direction
-
There is always an arrow on the valve body indicating the direction of flow. The valve must be installed following this direction to ensure proper operation.
Note:
- Install a Y-strainer before the valve to filter debris and protect the valve.
- Additionally, install shut-off valves (ball valves or gate valves) on both sides of the pressure reducing valve to make maintenance easier without shutting down the entire system.
Step 3: Make the connections
For threaded valves:
- Wrap PTFE tape (thread seal tape) around the valve threads about 10–15 turns in a clockwise direction.
- Then tighten the valve onto the pipeline using a wrench, ensuring it’s snug but not overly tight to maintain a good seal.
For flanged valves:
- Place a gasket between the two flanges.
- Tighten the bolts and nuts in a symmetrical or crisscross pattern to distribute force evenly and prevent leakage.
Step 4: Cleaning and maintenance
- After installation, clean the connection area, run the system for testing, and observe. If there is no vibration or leakage, the system is ready for operation.
- Periodic maintenance: Frequently apply grease to the joints to prevent oxidation, avoid stiffness, and ensure smooth operation of the device.
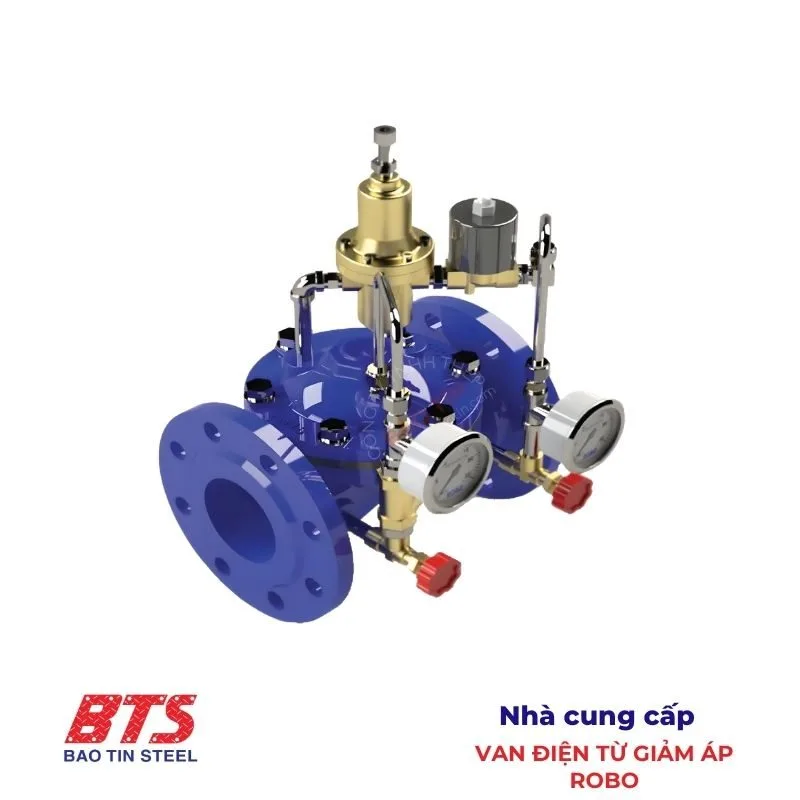
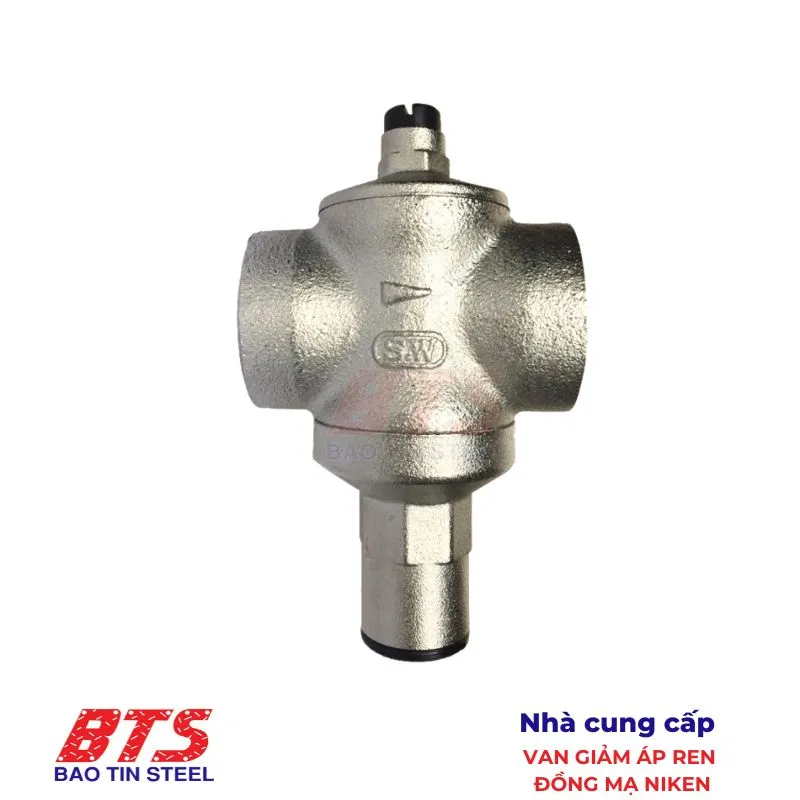
👉👉 Refer to some pressure-reducing valve lines sold at Bao Tin Steel

How to Properly Adjust a Pressure-Reducing Valve
Adjusting a pressure-reducing valve is the final and extremely important step to ensure the system operates safely and efficiently. The following is a step-by-step guide:
Preparation Before Adjustment
- Shut off all downstream pressure: Close the valves or taps located after the pressure-reducing valves.
- Locate the adjustment mechanism: Most pressure-reducing valves have a screw or bolt on top for adjustment, sometimes protected by a cap.
- Prepare the tools: Use a wrench or screwdriver suitable for the adjustment screw.
- Install a pressure gauge: If not already present, install one at the outlet to monitor pressure accurately and visually.
Steps to Adjust a Pressure-Reducing Valve
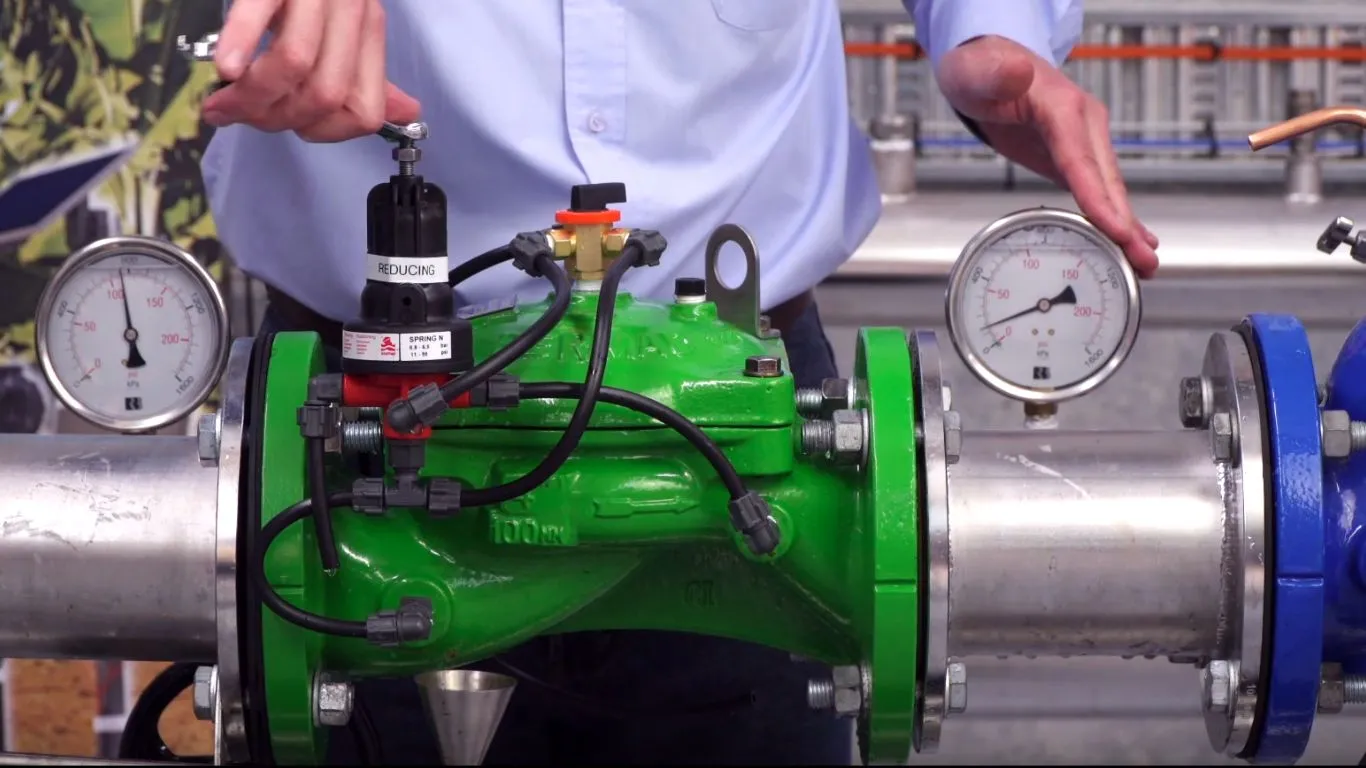
Step 1: Loosen the Lock Nut
If the valve has a lock nut, use a wrench to loosen it for easier adjustment. The lock nut secures the adjustment once the desired setting is reached.
Step 2: Perform the Adjustment
- Increase pressure: Turn the adjustment screw clockwise to compress the spring and raise the outlet pressure.
- Decrease pressure: Turn the adjustment screw counterclockwise to loosen the spring and lower the outlet pressure.
Note: Turn slowly, about 1/4 to 1/2 turn at a time. After each turn, open the farthest tap in the system to release pressure, then observe the pressure gauge.
Step 3: Fine-Tune the Pressure
- If the current pressure is too high, lower it slightly below the desired level.
- Then gradually increase it back to reach the precise target.
Step 4: Lock the Position
-
Once the desired pressure is achieved, keep the adjustment screw in place and tighten the lock nut (if available) to secure the setting.
Check and Finalise
- After adjustment, open all taps to verify that the pressure remains stable.
- Record the set pressure for easy monitoring and future adjustments.
This guide provides detailed instructions for installing and adjusting pressure-reducing valves for both residential and industrial systems. Understanding the proper procedure helps ensure easy installation, safety, and efficiency.
For more detailed information or pricing, contact Bao Tin Steel via Hotline: 0932 059 176.