
 Tiếng Việt
 ភាសាខ្មែរ
Safety valves help maintain stability and safety across the entire system. However, many users encounter issues such as continuous leakage, incorrect pressure release, or failure to meet periodic inspection standards as required by TCVN (Vietnamese Standards). Most of these problems stem from incorrect pressure settings or improper spring tension adjustments.
Therefore, understanding how to properly adjust a safety valve is essential for ensuring accurate device operation. This not only guarantees safe system performance and reduces waste, but also ensures compliance with inspection regulations. In this article, Bảo Tín Steel will provide a detailed, step-by-step guide on how to correctly adjust safety valves according to technical procedures and the latest TCVN standards.
Proper Technique for Adjusting Safety Valves
To ensure that a safety valve operates accurately and consistently, it is essential to adjust the release pressure according to correct technical procedures. Below is a step-by-step guide to help you adjust a safety valve in a safe, clear, and effective manner.
Preparation Before Adjustment
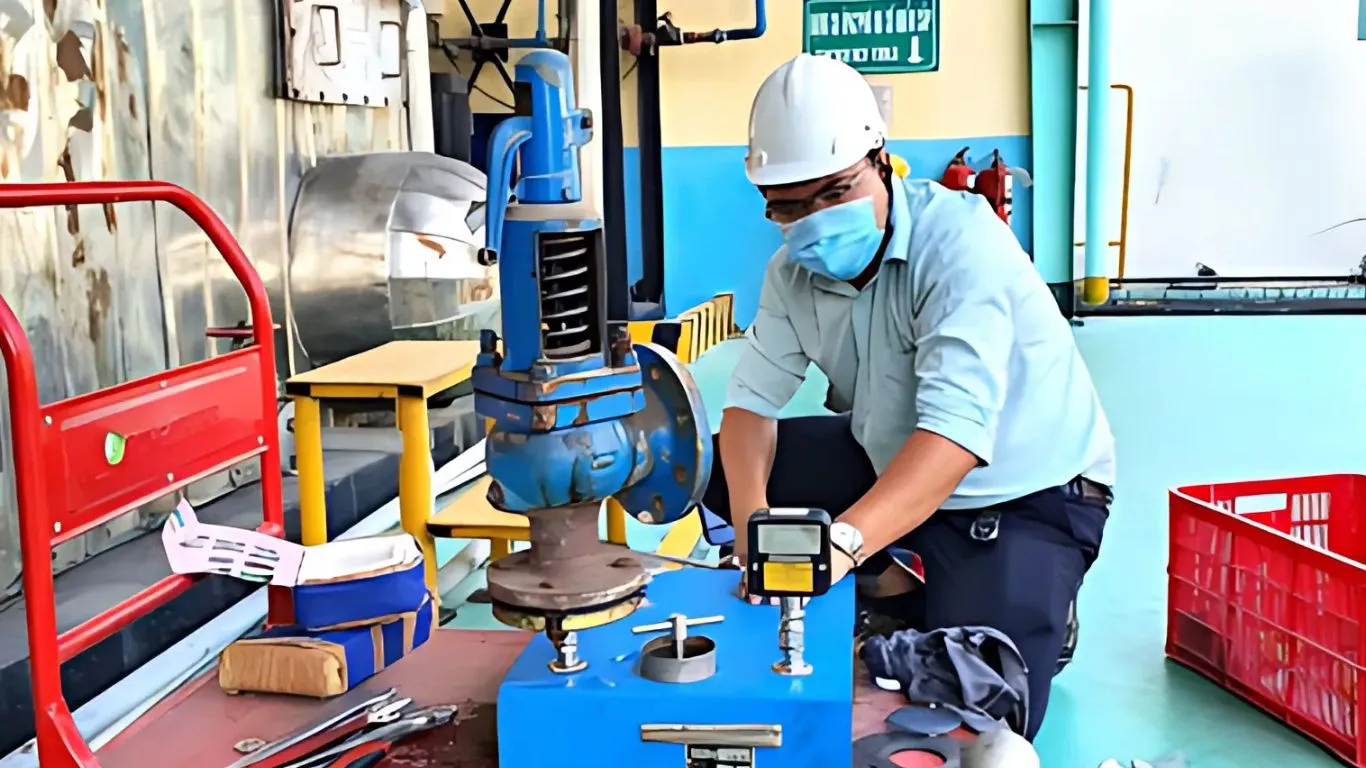
Before proceeding with valve adjustment, make sure all necessary conditions are in place:
- Inspect the valve condition: Ensure the valve is intact, clean, and free from leaks or mechanical jamming.
- Shut down the system: Cut off the power supply or isolate the pipeline section containing the valve to ensure safety during the procedure.
- Install an accurate pressure gauge: Mount a gauge close to the valve position to monitor actual pressure during testing.
- Determine the required set pressure: Based on the system’s technical specifications or operating requirements, identify the desired pressure at which the valve should release.
Steps to Adjust a Safety Valve
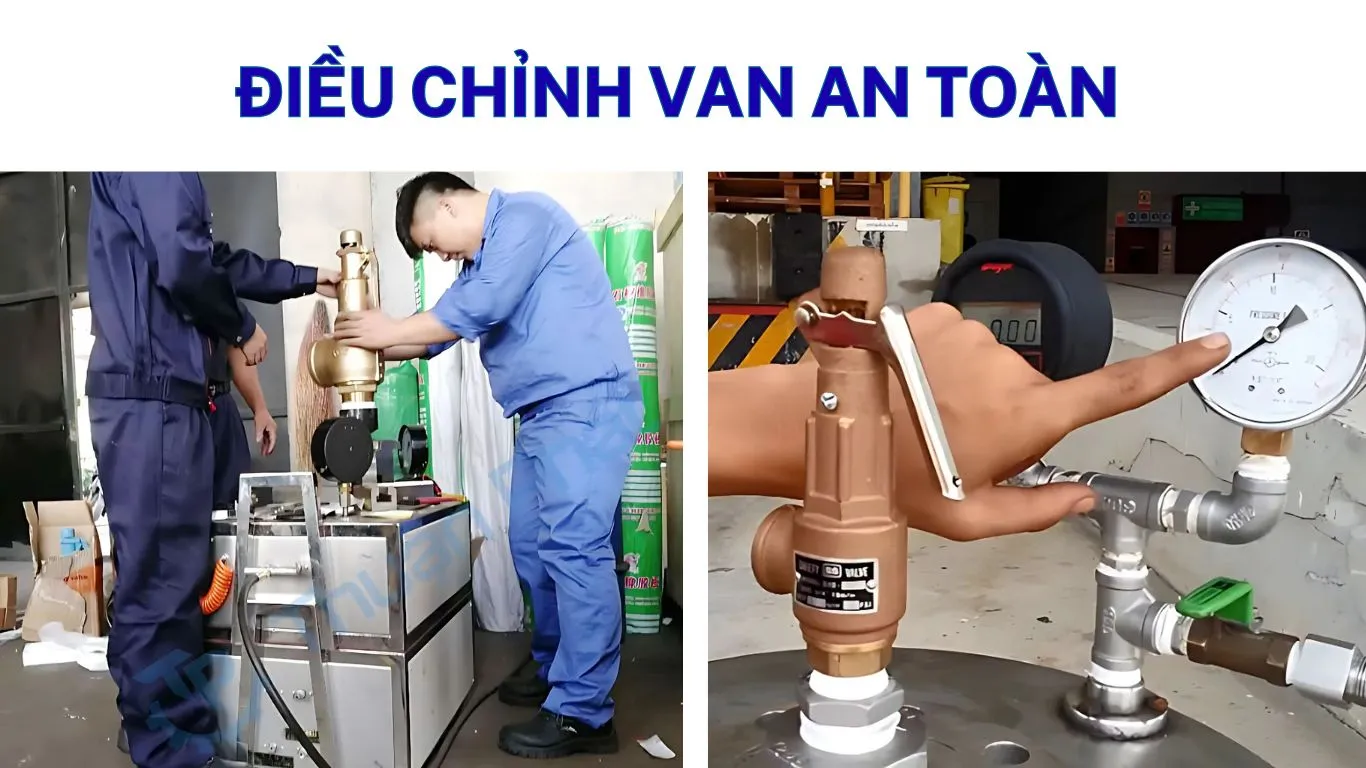
Step 1: Remove the Protective Cap (if applicable)
Some types of safety valves have an external protective cap to prevent accidental adjustments or physical damage. Remove the cap to access the spring adjustment mechanism.
Step 2: Turn the Spring Adjustment Screw
Locate the adjustment screw or bolt that controls the spring tension — this determines the valve’s release pressure:
- Turn clockwise → Increases spring compression → Raises the release pressure
- Turn counterclockwise → Decreases spring compression → Lowers the release pressure
Make small adjustments and note each setting for easy reference or rollback if needed.
Step 3: Restart the System and Observe Actual Pressure
Power the system back on or reintroduce the working medium into the pipeline. Monitor the actual pressure on the gauge. When pressure reaches the set value, the valve should open promptly and cleanly.
Step 4: Test Manual Release (if available)
If the valve has a manual release lever, gently pull it to test the valve’s ability to release pressure and check the flexibility of the valve disc mechanism.
Step 5: Repeat Adjustments if Necessary
If the release pressure does not match the desired setting, repeat the spring adjustment process. Be careful not to exceed the valve’s design limits.
Important Notes When Adjusting Safety Valves
During the safety valve adjustment process, you need to keep in mind several important points to ensure correct technical operation and avoid damaging the equipment:
- Do Not Adjust While the Valve Is Operating Under High Pressure
Never attempt to adjust the valve while the system is running at high pressure or while the valve is actively releasing. Interfering at this stage can cause pressure instability, pose safety risks to operators, and compromise the accuracy of the settings. - Do Not Turn Beyond the Design Limits
Each valve type has specific limits for spring tension and setting pressure range. Over-tightening can deform the spring, damage the adjustment threads, or cause the valve to fail to release at the correct pressure — or even fail to reseal properly. - Record Settings After Adjustment
After completing the adjustment, record the set pressure, number of turns applied, adjustment time, and the name of the technician who performed the work. This practice facilitates operational tracking and supports future inspections and maintenance.
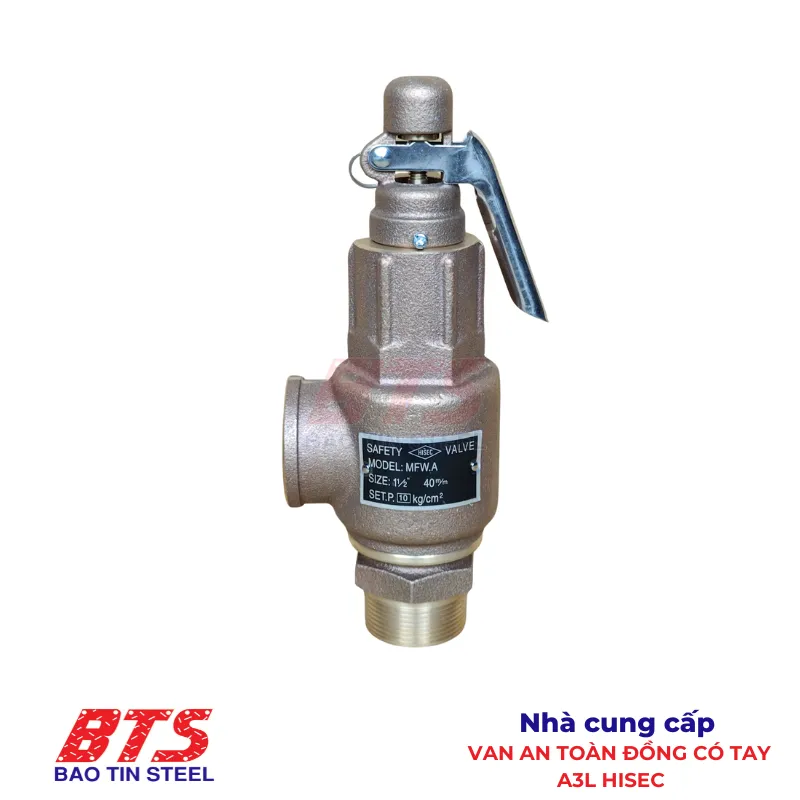
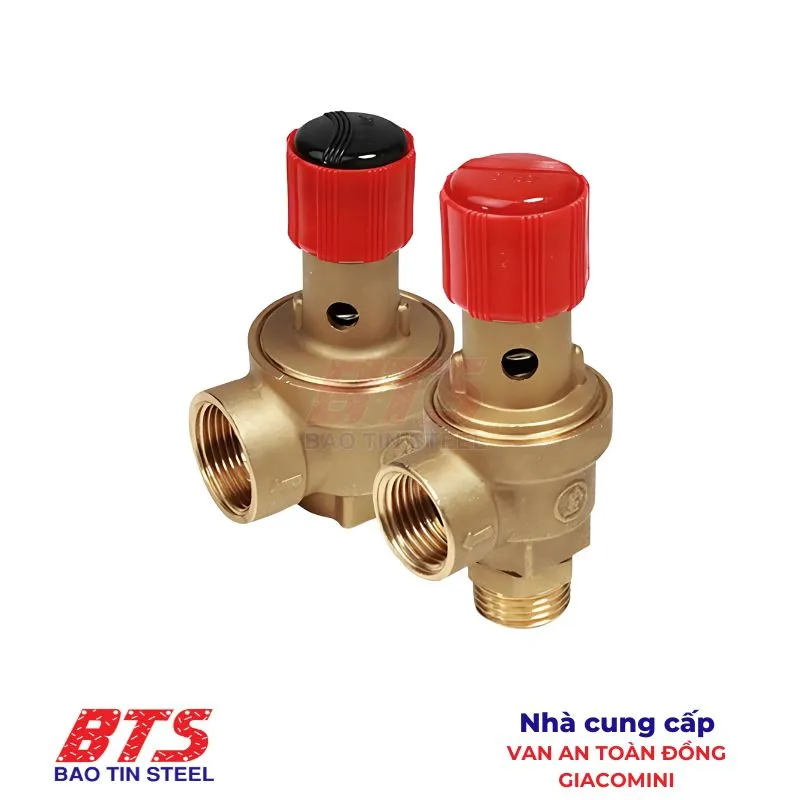
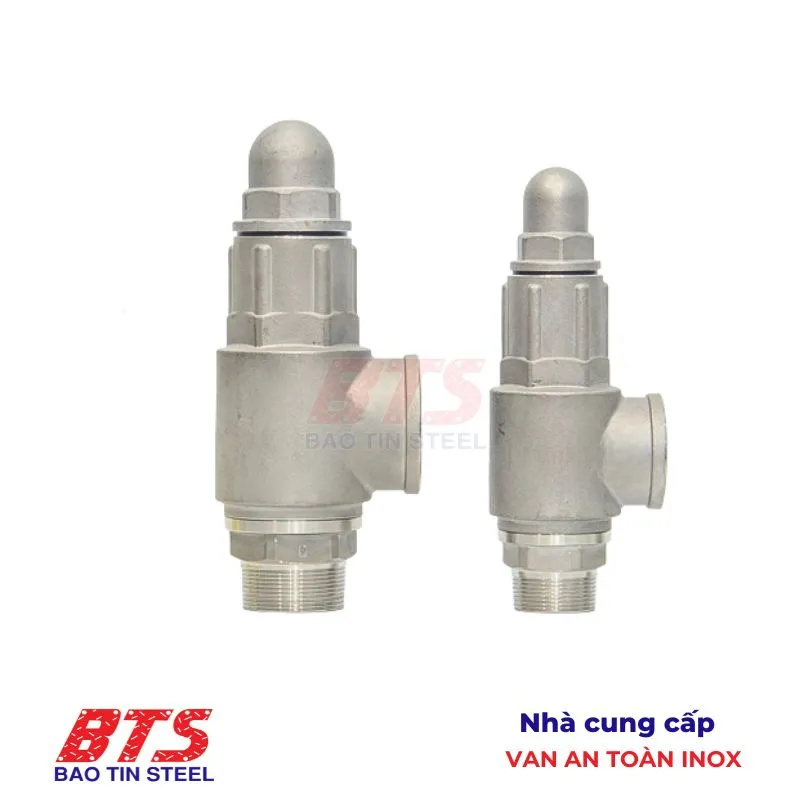
✅ Refer to some safety valve products at Bao Tin Steel
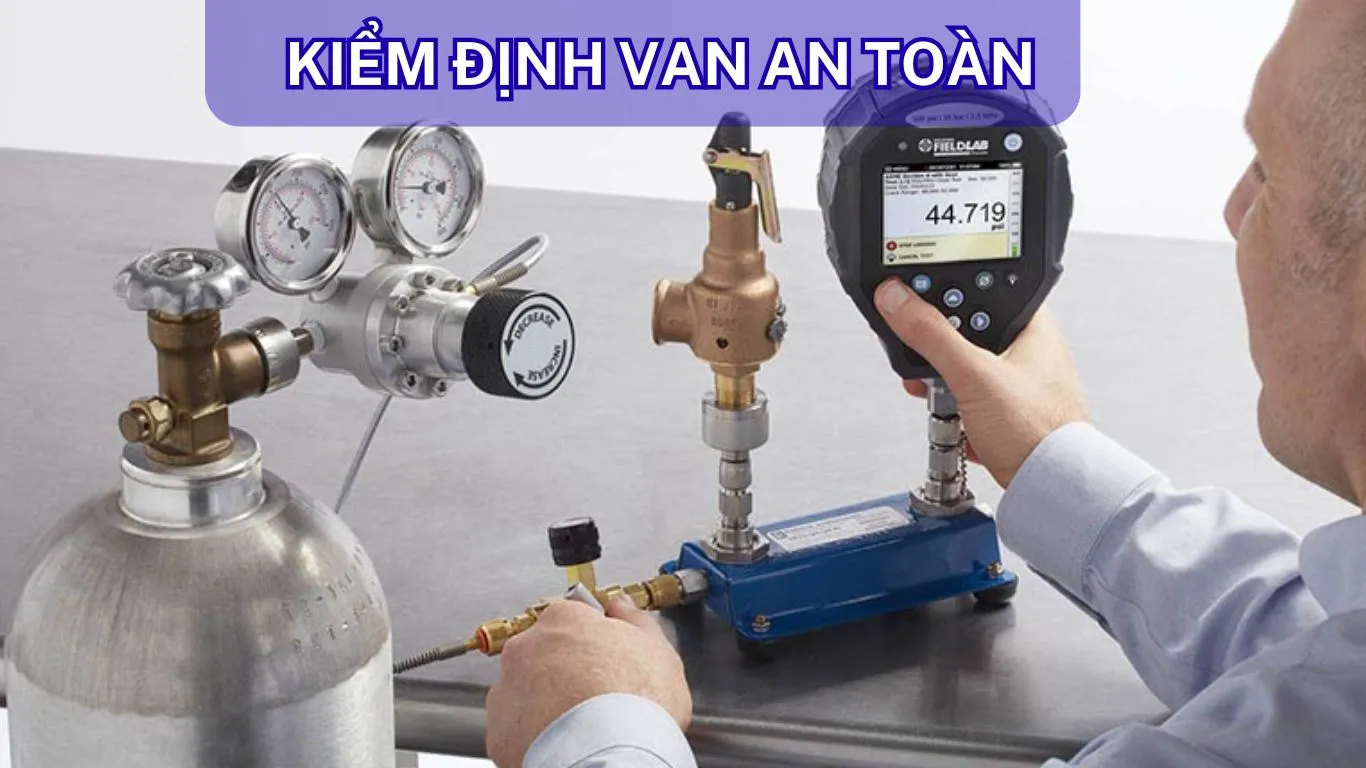
Safety Valve Inspection Standards According to TCVN
To ensure safety valves operate accurately and comply with legal regulations, periodic inspections are mandatory for many pressure systems, especially in industries, manufacturing, and facilities with fire and explosion risks. Below are the key regulations and inspection criteria you need to understand.
Applicable Standards
The safety valve inspection process in Vietnam complies with the following standards and technical regulations:
- TCVN 7704:2007 – Safety of Pressure Equipment:
- Specifies general requirements for the design, installation, use, and inspection of pressure equipment.
- QCVN 01:2008/BLĐTBXH – National Technical Regulation on Occupational Safety for Pressure Equipment:
Mandatory for businesses, factories, and enterprises using pressure equipment. - Enterprise or Manufacturer Standards (if applicable):
For special or imported valves, manufacturer’s standards or international standards such as ASME or API may be used as the basis for inspection.
Inspection Content
The safety valve inspection process typically includes the following steps:
- Leakage and sensitivity check: Ensure the valve does not leak when closed and responds correctly when the pressure reaches the set threshold.
- Opening and closing pressure test: Use specialised inspection equipment to accurately measure the valve opening pressure and the pressure at which the valve reseals. Results must fall within the allowable limits.
- Adjustment and issuance of inspection seal: If the valve fails to meet the requirements, the inspection unit may adjust the spring tension accordingly. Once compliant, the valve will be tagged and issued a valid inspection certificate.
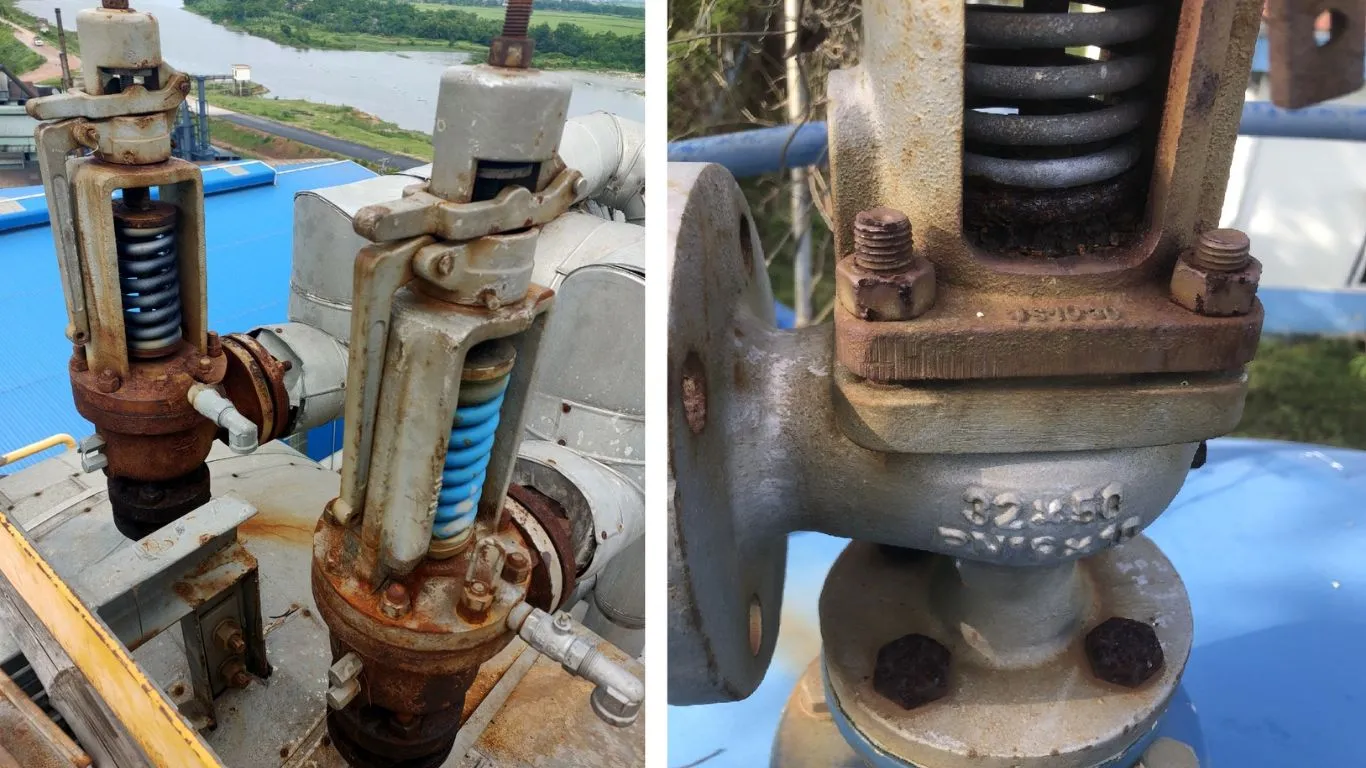
Solutions for Continuous Leakage and Overpressure in Safety Valves
Below are some common solutions to address these issues:
Check and Clean the Valve
In many cases, dirt, deposits, or foreign objects inside the valve cause the valve disc to not seal completely. This leads to continuous slight leakage or inability to maintain pressure. The valve should be removed, thoroughly cleaned, and the contact surface between the disc and the valve seat inspected. If there are signs of wear or pitting on the surface, polishing or replacement of components may be necessary.
Replace the Spring or Adjust the Spring Tension
After long periods of use, the internal spring may become fatigued and lose elasticity, causing the set pressure to become inaccurate (the valve may open too early or too late). Adjust the spring tension using the adjustment screw (as guided earlier). If necessary, replace the spring with a new one that meets the valve’s design specifications.
Replace with a More Suitable Valve
If the valve is too old, has severe leakage, or no longer meets technical standards, it is best to replace it with a new one to ensure safety. Additionally, choosing the wrong type of valve for the medium or operating pressure can cause improper valve performance. In such cases, it is necessary to review the technical specifications and select the correct valve suitable for the system.
Conclusion
Understanding and correctly adjusting safety valves not only helps the system operate stably, avoiding continuous leakage or incorrect pressure release, but it is also a mandatory requirement to pass inspections according to TCVN standards. From preparation, adjustment procedures, to post-operation checks, every step must be performed carefully and technically accurately.
If the safety valve shows signs of damage, is unsuitable for the system, or is too old, consider replacing it to ensure long-term safety. Also, remember that periodic inspections are not only for compliance but also a key solution to protect yourself and your operational assets.
We hope Bao Tin Steel’s guidance has helped you clearly understand how to properly adjust safety valves. If you need any further assistance, please feel free to contact us for support!