
 Tiếng Việt
 ភាសាខ្មែរ
Check valves are critically important devices used to prevent backflow, protect pumps, maintain system pressure, and avoid water hammer — a phenomenon that can cause severe damage and disrupt operations. However, for the valve to operate reliably, durably, and ensure complete safety for the entire system, it is essential to install the check valve correctly and in accordance with technical standards.
Even a small mistake — such as installing the valve in the wrong direction, choosing the wrong material, or unevenly tightening the connections — can cause the entire system to fail.
With hands-on experience in industrial equipment, Bao Tin Steel is pleased to share with you a detailed and practical guide on how to select, install, and inspect check valves based on different connection types (threaded, flanged, wafer), helping to optimise performance and extend the lifespan of your system.
Classification of Check Valves and Installation Characteristics
Before installation, it is essential to distinguish between different types of check valves clearly. This step is crucial to help you select the right valve for your actual working conditions and ensure long-term operational efficiency.
Each type of valve has its own structure, operating principle, and installation orientation. Using the wrong type or installing it incorrectly can lead to serious issues such as leakage, water hammer, or complete valve failure.
Below are the four most common types of check valves:
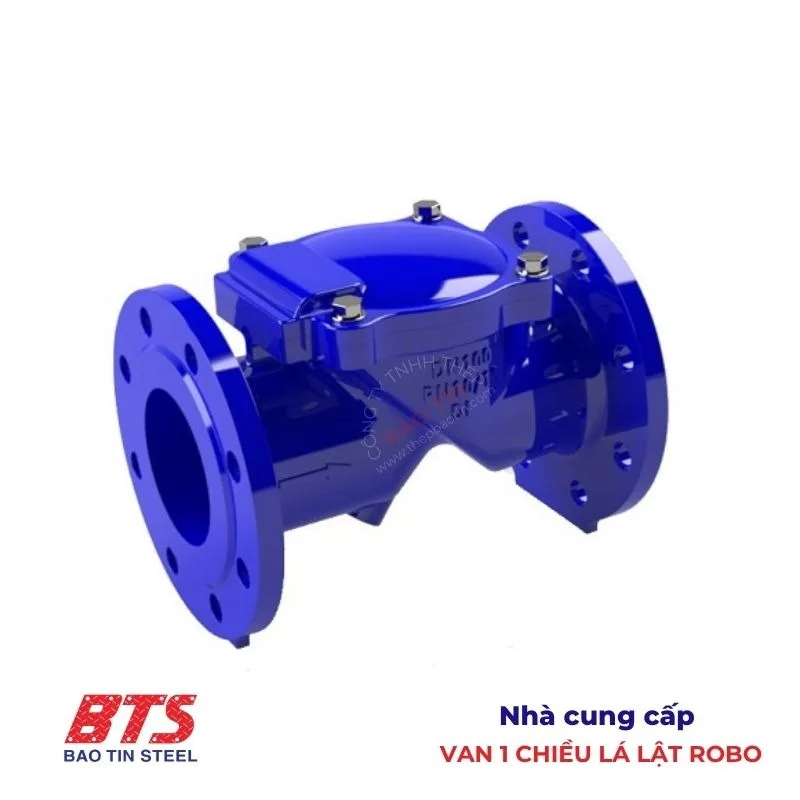
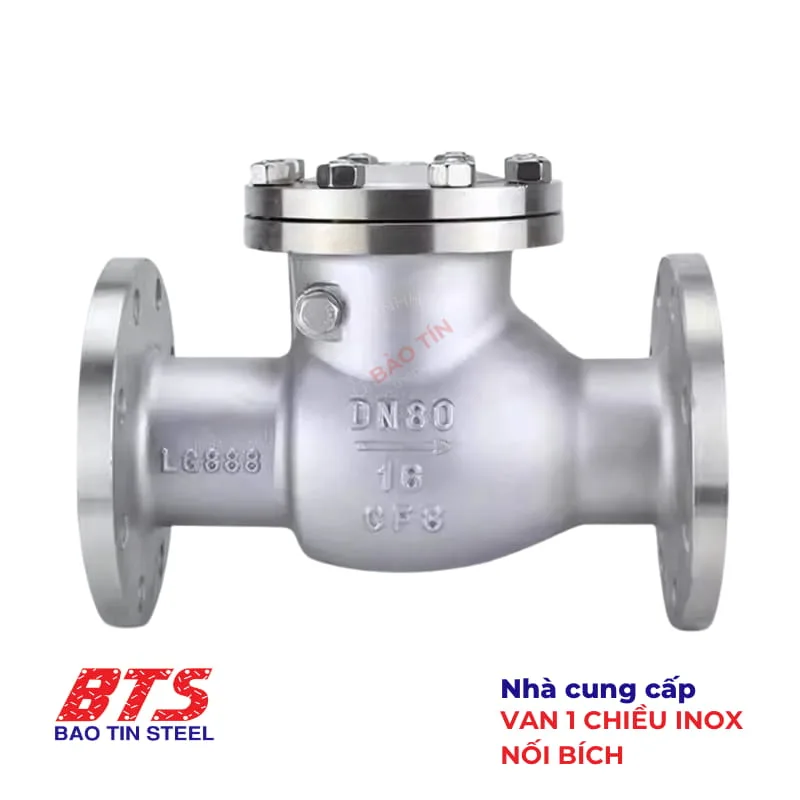
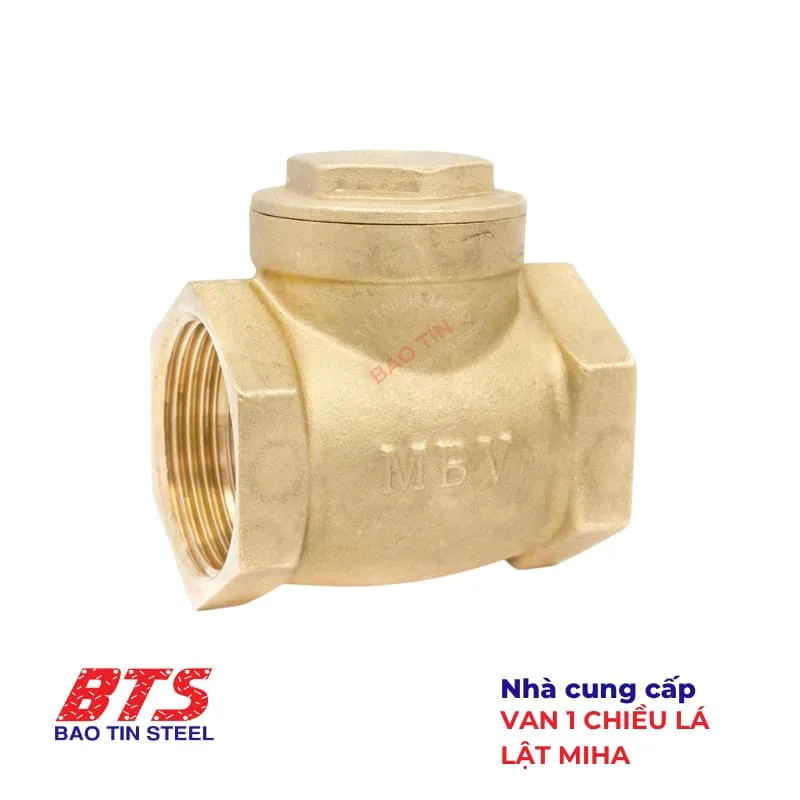
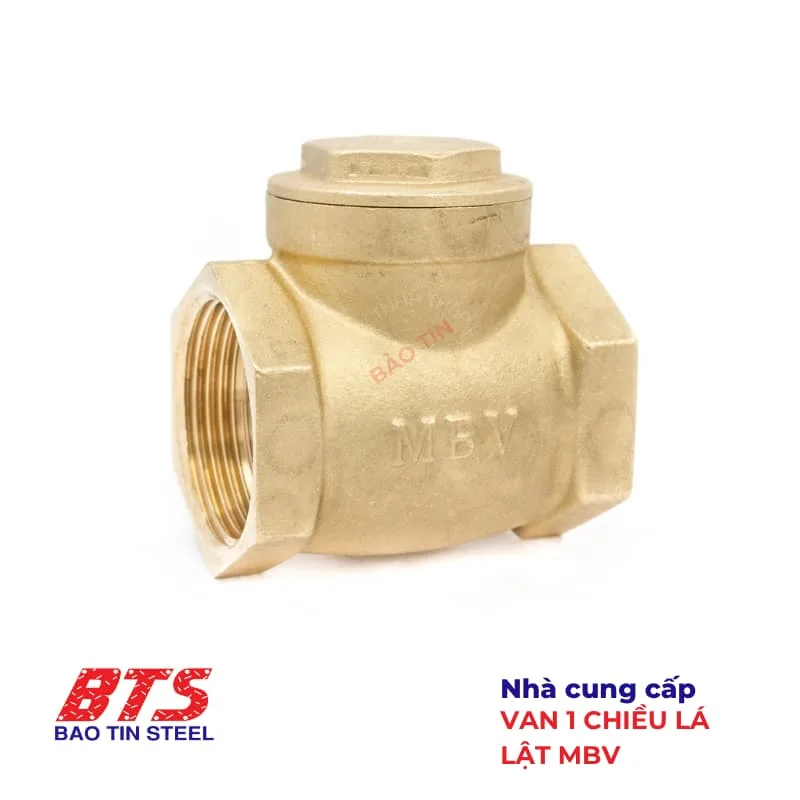
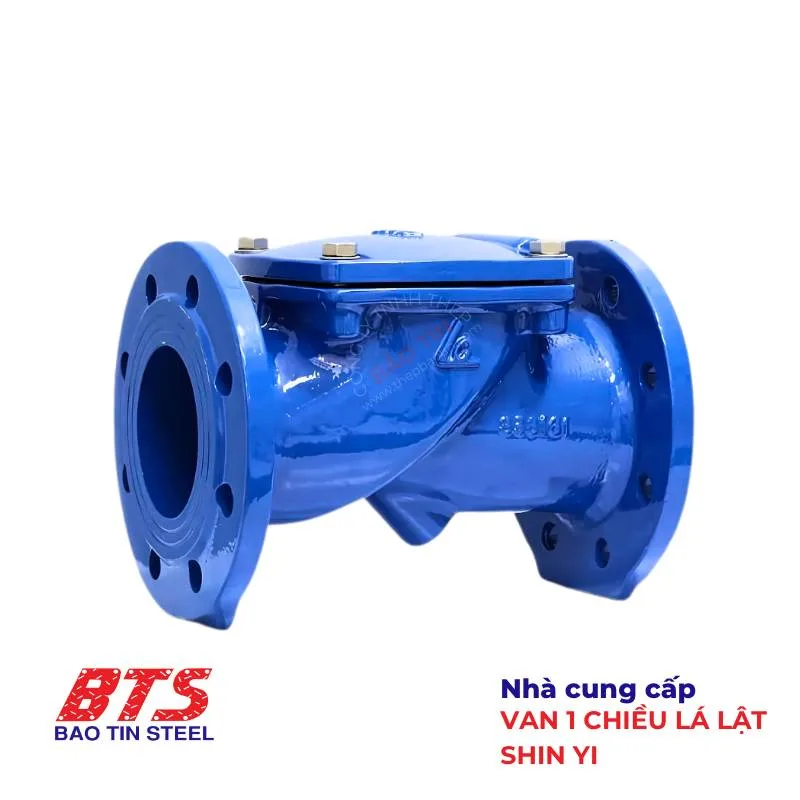
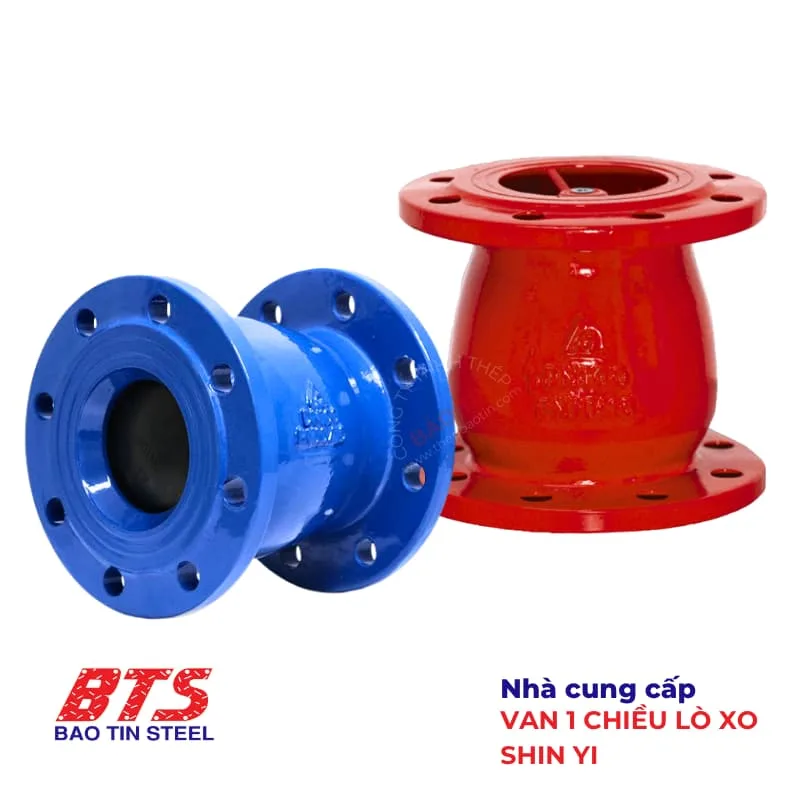
Swing Check Valve
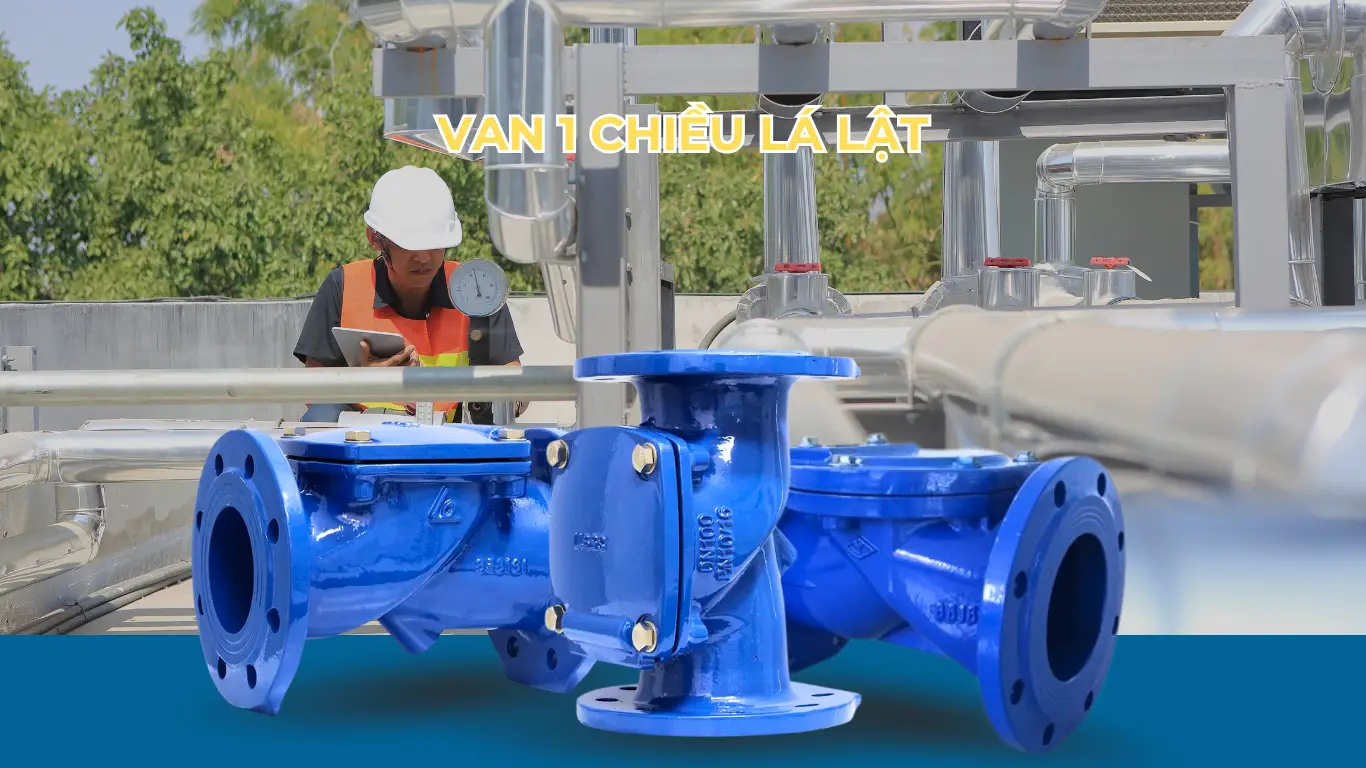
Structure: Uses a hinged disc attached to a shaft, which opens and closes based on the flow pressure.
Installation Characteristics:
- It should be installed horizontally only to ensure the valve disc falls back to the correct position when the flow stops.
- Vertical installation is not recommended because gravity does not effectively assist in closing the valve.
Applications: Water supply systems, fire protection (firefighting) systems, and wastewater treatment.
Connection Types: Threaded (DN50 and below), flanged (DN50 and above).
Explore some swing check valve models at Bao Tin Steel:

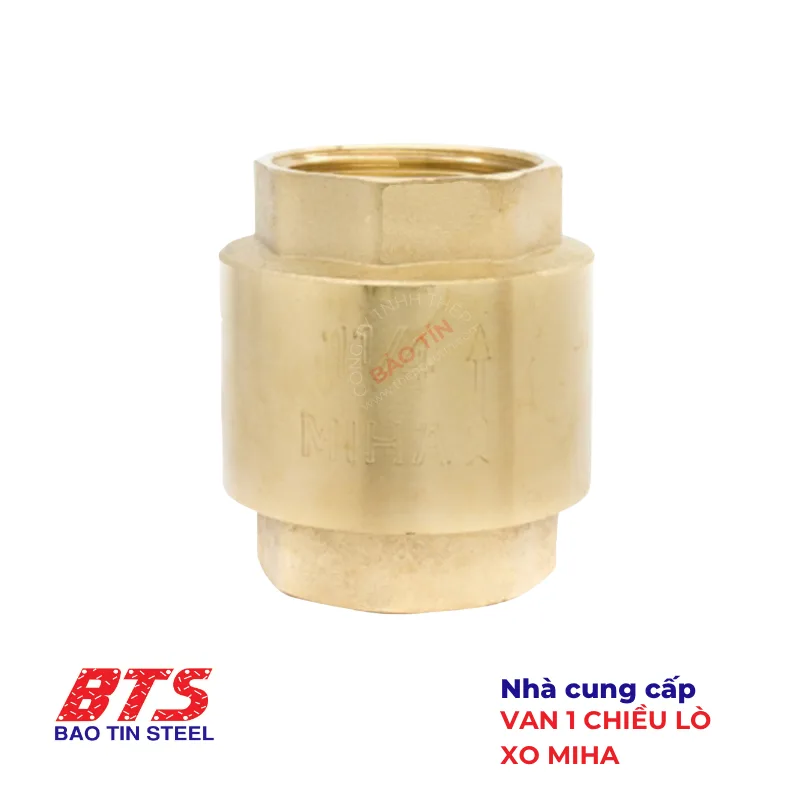
Spring Check Valve
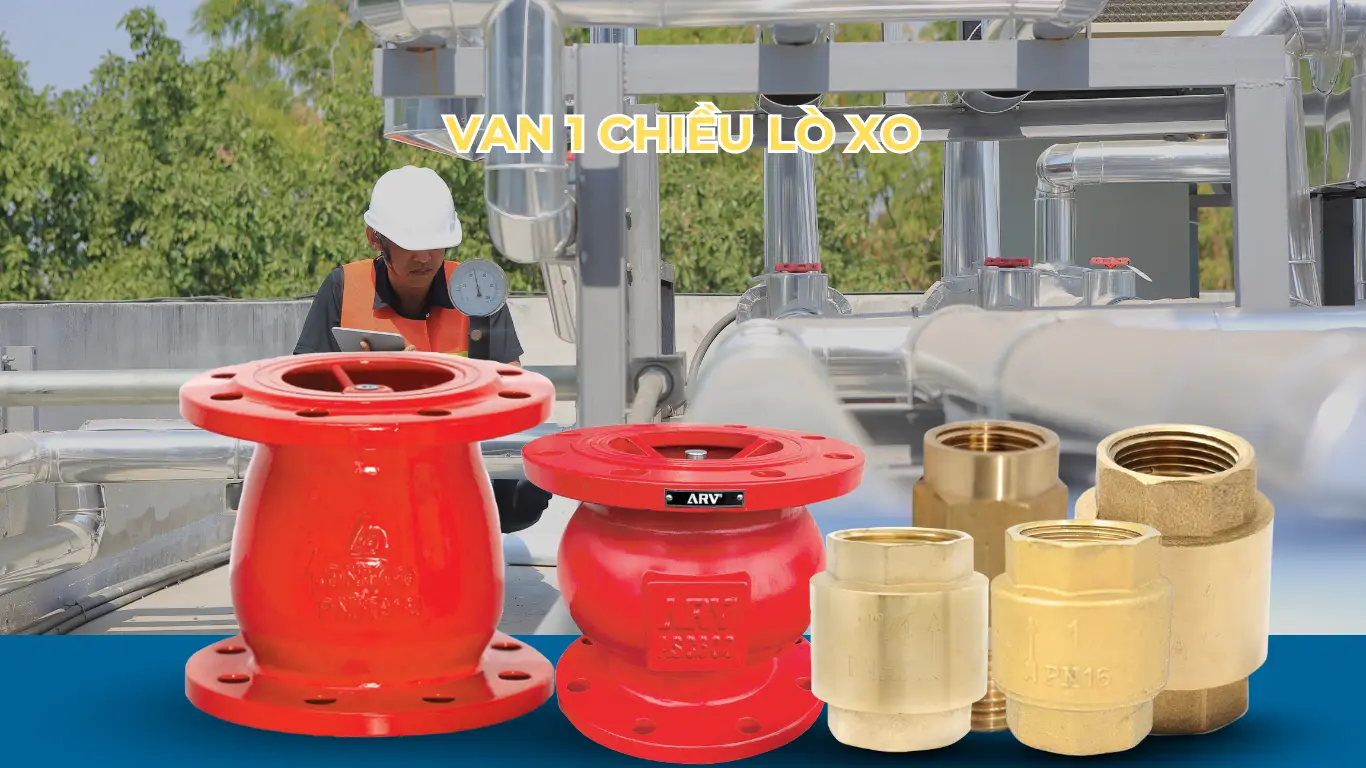
Structure: The valve disc is equipped with a spring that enables quick sealing when the pressure drops.
Installation Characteristics:
-
It can be installed flexibly in any orientation: horizontal, vertical, or inclined downward.
-
The spring helps prevent water hammer and reduces vibration.
Applications: Booster pumps, compressed air systems, and steam systems.
Connection Types: Threaded and flanged.
Explore some spring check valve models at Bao Tin Steel:
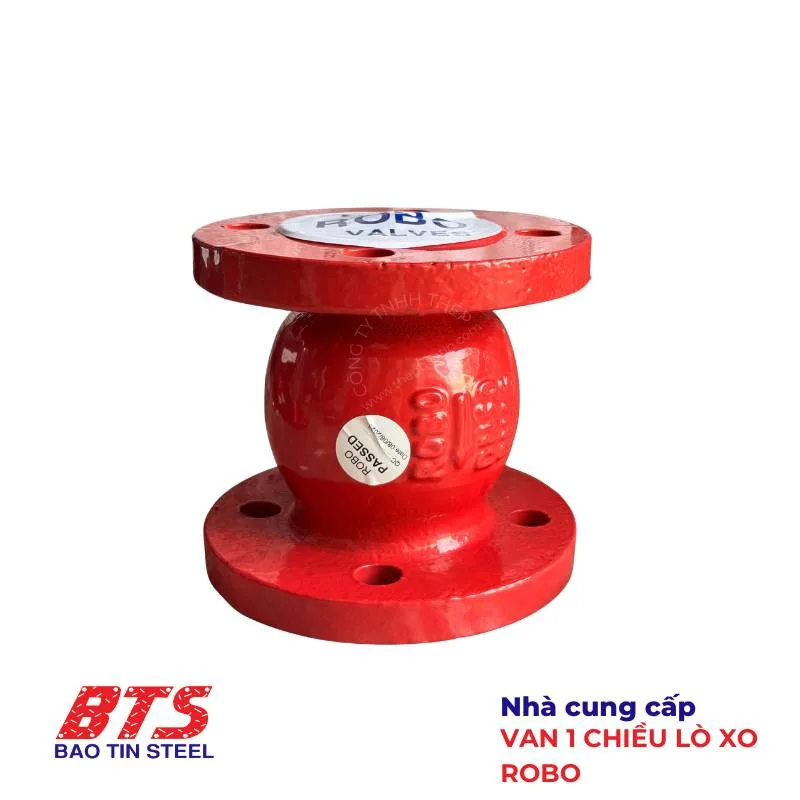

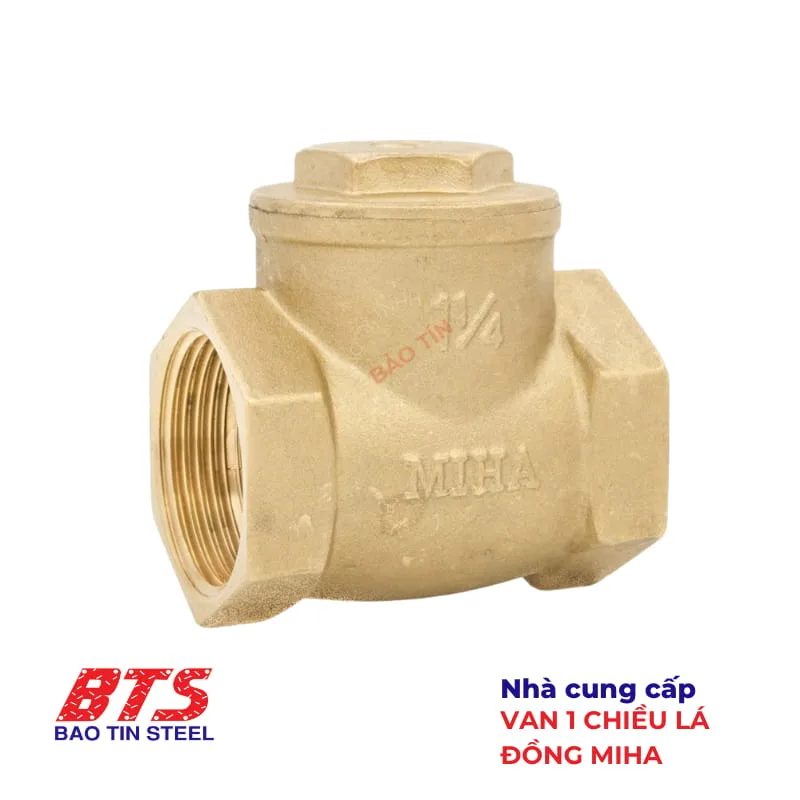
Van 1 chiều bi (Ball Check Valve)
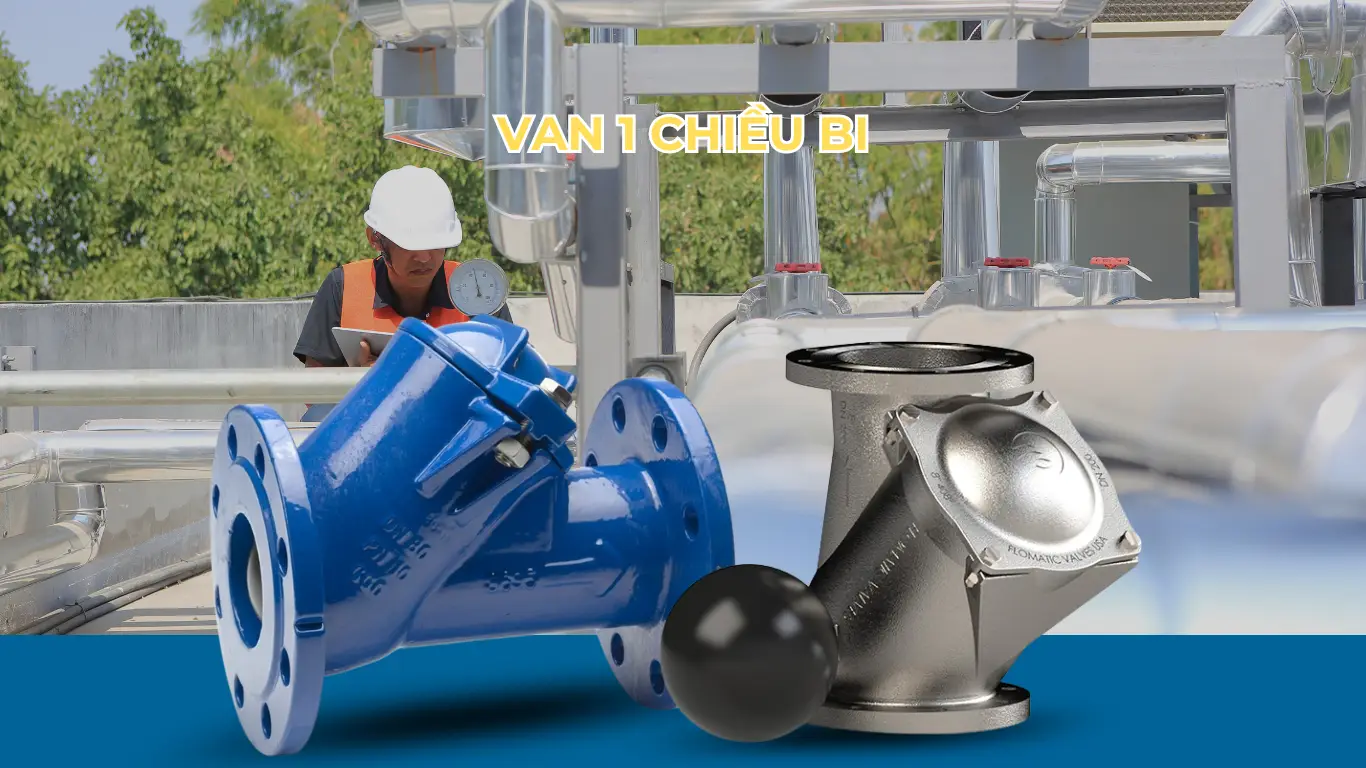
Structure: Uses a round ball (usually rubber-coated) that opens and closes based on the flow pressure.
Installation Characteristics:
- Preferably installed horizontally to help the ball seal accurately with the aid of gravity.
- Avoid using in vertical flow unless supported by a spring.
Applications: Wastewater, chemicals, swimming pools.
Connection Types: Threaded, flanged, or glued (PVC).
Duo Check Valve – Wafer Type
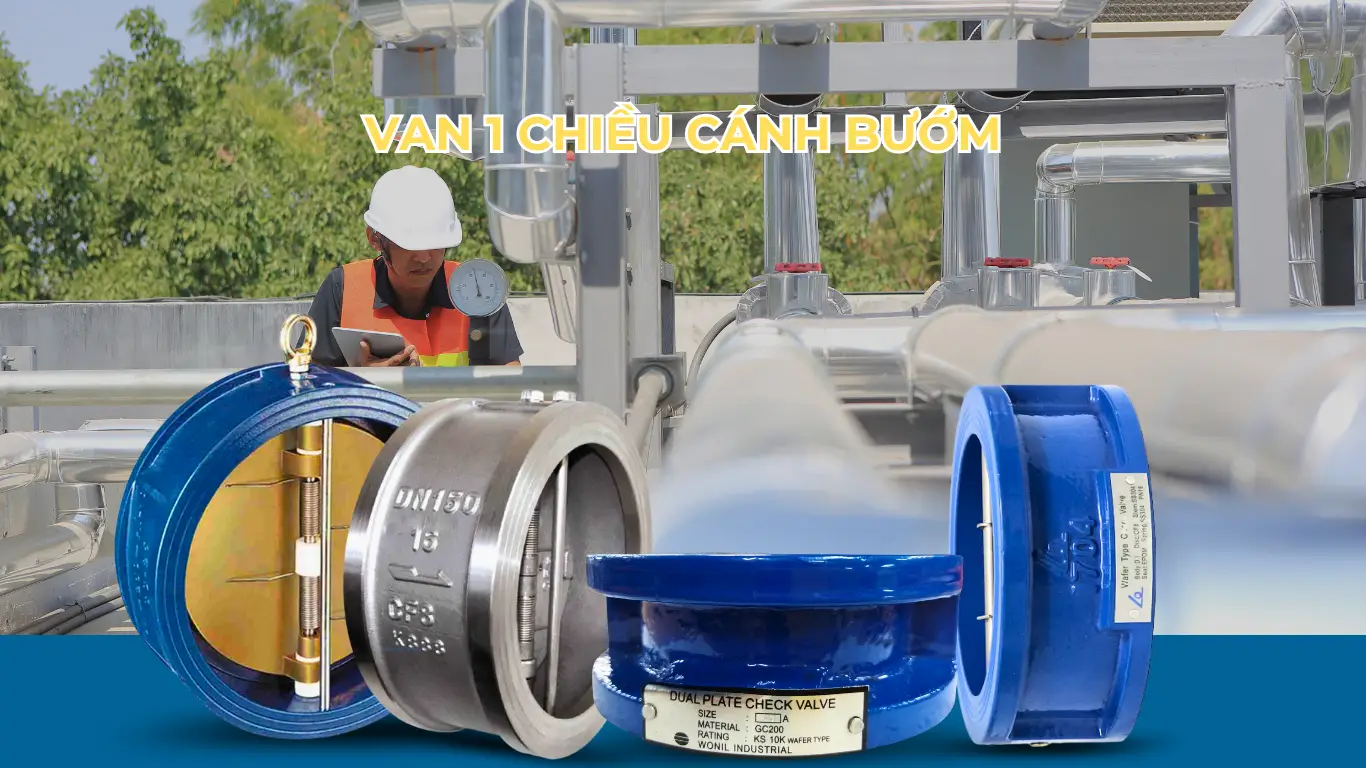
Structure: Two butterfly-style swinging discs that open and close based on the flow pressure.
Installation Characteristics:
- Installed between two flanges, the valve stem should be positioned vertically if the pipeline is horizontal.
- Avoid vertical installation if the size is greater than DN150.
Applications: Tight spaces, booster pump stations, water treatment systems.
Connection Type: Wafer clamp.
Explore some butterfly check valve models at Bao Tin Steel:

Preparation Before Installing a Check Valve
Whether you are installing a check valve for water, compressed air, or chemical systems, the preparation stage is always a crucial step that determines the sealing quality, operational efficiency, and equipment lifespan. Bao Tin Steel recommends you complete the following three groups of tasks thoroughly: prepare tools, inspect materials, and assess actual conditions.
Necessary Tools and Materials
Proper preparation of tools helps you work quickly and avoid errors during installation.
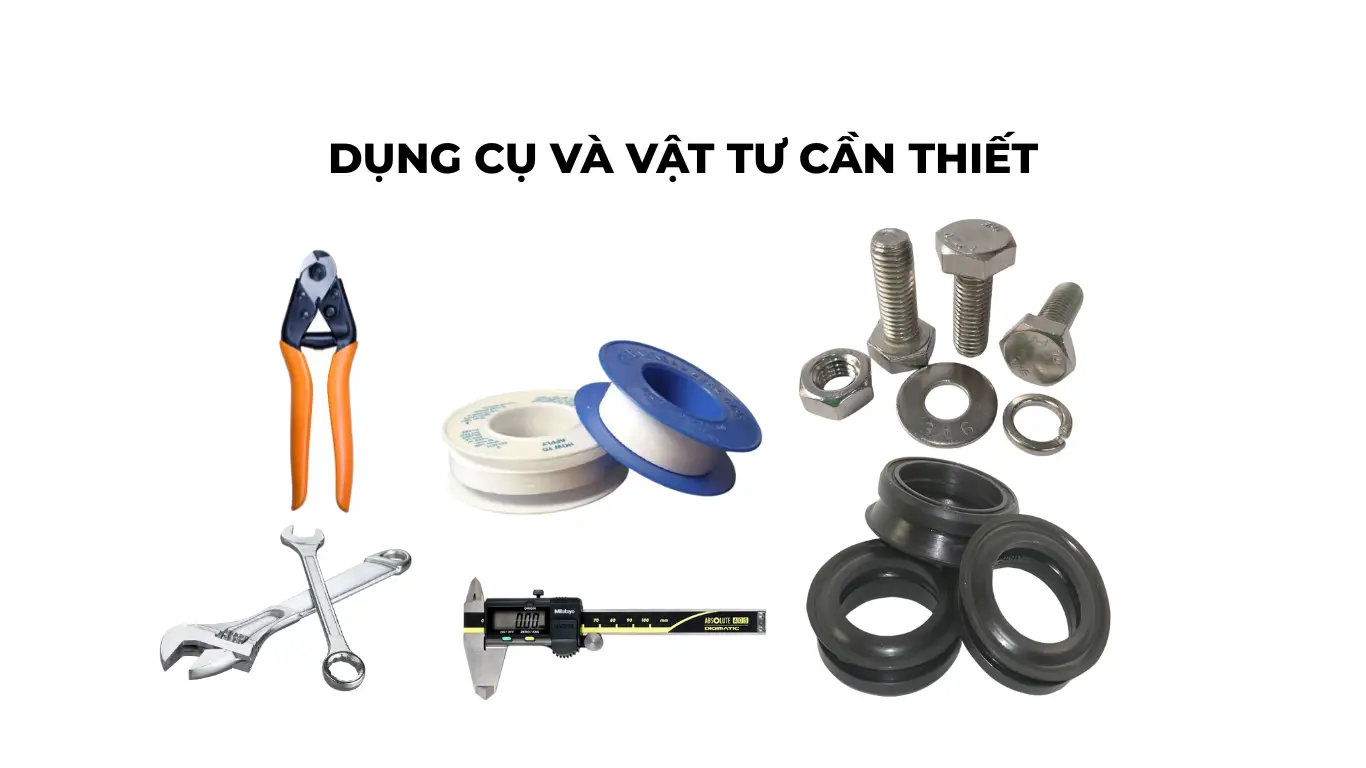
Tools for Installation:
- Adjustable wrench / Pipe wrench: Tighten or loosen threaded ends or flange bolts.
- Pliers: Hold pipes or valves securely during installation.
- Pipe cutter: For adjusting pipe sizes as needed.
- Measuring tape: Measure installation distances and ensure accurate pipe cutting.
Auxiliary Materials:
- PTFE tape (thread seal tape): Used for threaded connections to prevent leaks.
- PVC glue: Applied for plastic pipes and plastic valves.
- Sealing gaskets: Used for flange connections; make sure to choose the correct size.
- Bolts and nuts: Accompanied by flat and spring washers that meet flange standards.
Inspecting the Valve and Pipeline
A small mistake in this step can lead to leaks, blockages, or valve damage after installation.
Valve Inspection:
- Size: Ensure the valve matches the pipe diameter (not too large or too small).
- Material: Suitable for the fluid type (water, gas, chemicals), pressure, and operating temperature.
- Flow Direction: Check the arrow on the valve body — installation must follow the correct flow direction.
- Valve Condition: Inspect inside for dust, rust, debris, and ensure seals/gaskets are not deformed.
Pipeline Inspection:
- Cleanliness: Remove dust, cutting debris, oil, and impurities before attaching the valve.
- Straight and flat pipe ends: Especially important for flange or glued connections.
- Flanges: Must be clean, free of warping, and free from deep scratches that could cause gasket leaks.
Choosing the Right Valve for Your System
Avoiding the wrong valve selection is crucial to preventing valve malfunction or rapid deterioration.
You need to identify:
- Fluid type: Clean water, wastewater, compressed air, chemicals, hot oil, etc.
- Working conditions: Pressure (bar), temperature (°C), corrosive environment (if any).
- Connection type: Threaded, flanged, wafer, or glued.
- Installation orientation: Is it horizontal, vertical? Is there enough space for operation?
Especially if the system is prone to debris or dirt, it’s advisable to install a Y-strainer ahead of the valve to protect the equipment from disc blockage or valve clogging.
How to Install Check Valves According to Different Connection Types
Depending on their design and size, check valves can be connected to pipelines using threaded, flanged, or wafer (clamp) connections. Each connection type requires different installation techniques, and incorrect installation can lead to fluid leakage, valve disc jamming, or system failure.
Bao TIn Steel will guide you step-by-step to ensure accurate, leak-proof, and technically correct installation.
How to Install Threaded Check Valves
Application: Small valves from DN8 to DN50, commonly used in residential systems or low-pressure applications.
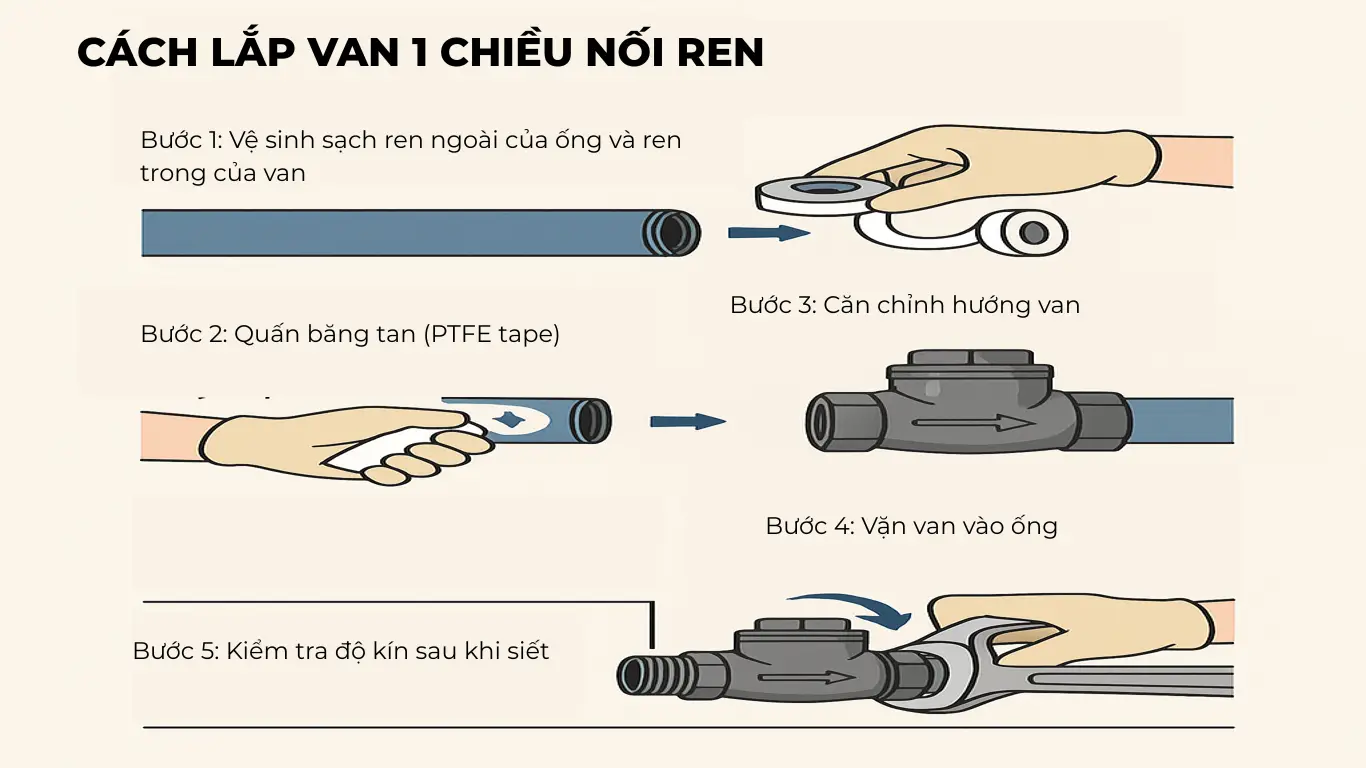
Steps to Install Threaded Check Valves
Step 1: Clean the external threads of the pipe and the internal threads of the valve thoroughly.
Step 2: Wrap PTFE tape:
- Wrap evenly in the direction of the threads, about 5–7 turns.
- Avoid wrapping too much to prevent jamming or too little to prevent leaks.
Step 3: Align the valve direction:
- Check the arrow on the valve body to ensure the correct flow direction.
- Install the valve in the correct orientation from the start, as threaded valves are difficult to rotate after tightening.
Step 4: Screw the valve onto the pipe:
- Start by hand-tightening a few turns, then gently tighten with a wrench.
- Do not overtighten to avoid cracking the valve body or stripping the threads.
Step 5: Check for tightness after tightening:
-
Use soapy water to detect air or water leaks if necessary.
How to Install Flanged Check Valves
Application: Valves from DN50 and above, commonly used in industrial systems, large pumps, fire protection (PCCC), and wastewater systems.
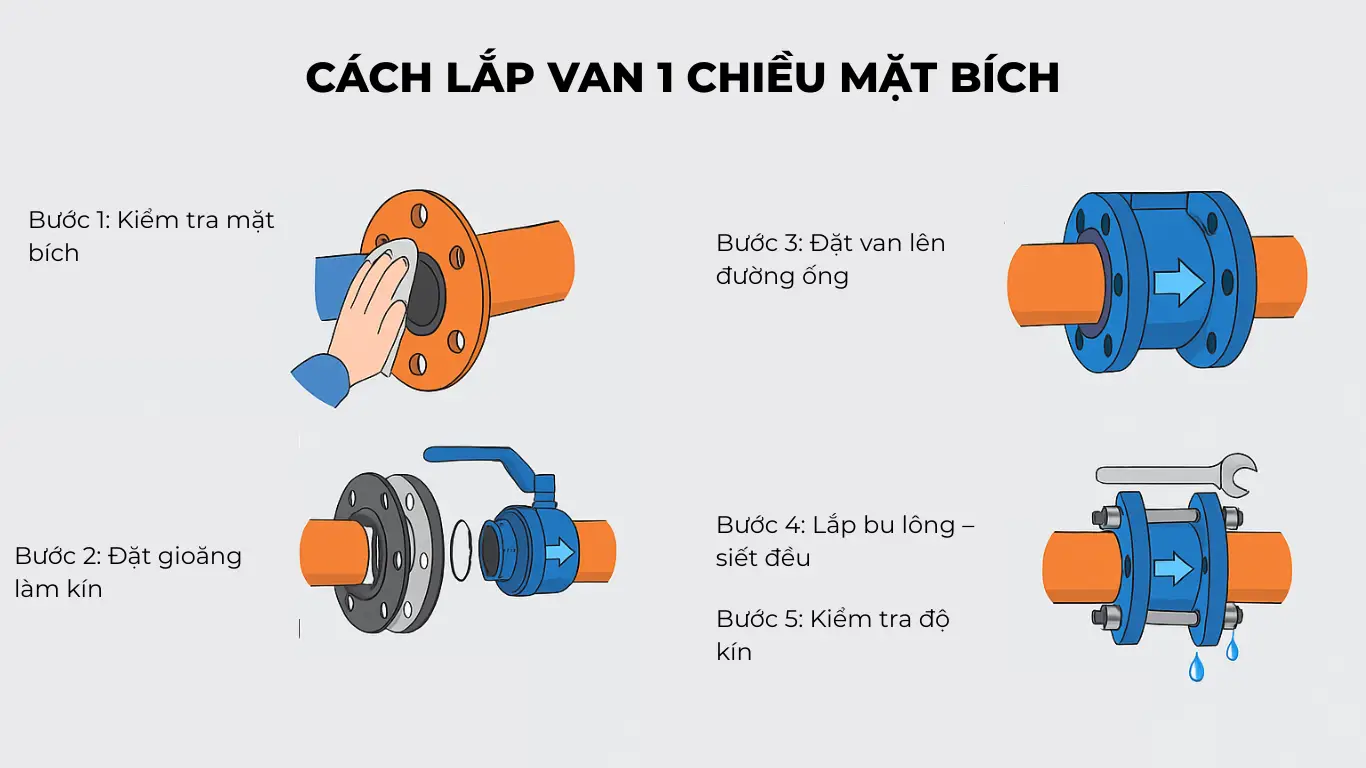
Steps to Install Flanged Check Valves
Step 1: Inspect the flanges:
-
Both the valve and pipe flanges must be clean, free from dents, rust, and paint.
Step 2: Place the gasket:
- Install the correctly sized gasket neatly between the two flanges.
- You may temporarily fix it with a specialised adhesive if the gasket is thin.
Step 3: Position the valve onto the pipe:
- Align the bolt holes accurately.
- Ensure the flow direction matches the arrow on the valve body.
Step 4: Insert bolts and tighten evenly:
- Tighten bolts in a star or crisscross (X) pattern.
- Apply even force gradually to avoid flange misalignment.
Step 5: Check for tightness:
- Perform a pressure test and observe for leaks at the gasket edges.
- Tighten further if needed, but avoid uneven tightening that could damage the gasket.
How to Install Wafer Check Valves
Application: Thin and compact butterfly or spring check valves, used in limited space environments.

Steps to Install Wafer Check Valves
Step 1: Prepare the two existing flanges on the pipeline.
Step 2: Align the valve:
-
Wafer valves do not have bolt ears, so precise alignment is critical.
-
Ensure the correct flow direction and that the valve stem is vertical if installed horizontally.
Step 3: Clamp the valve between the two flanges:
-
Gently place it into the correct position.
-
Avoid misalignment to prevent the valve disc from jamming.
Step 4: Insert bolts through both flanges:
-
Tighten bolts evenly, following the flange tightening procedure.
Step 5: Check operation:
-
Use your hand or test flow to ensure the valve disc opens and closes smoothly.
Important Notes When Installing Check Valves According to System Types
Installing a check valve is not just about technical connection; it heavily depends on the specific characteristics of each system, such as water supply, compressed air, chemicals, or high temperature and pressure environments. Without considering actual operating conditions, even a technically correct installation can lead to valve malfunction, shortened lifespan, or serious incidents.
Here are some important notes that Bao Tin Steel has compiled from practical experience:
Water Supply Systems & Pumps – Prevent Water Hammer and Protect Pumps
Installation location:
- Install the valve immediately after the pump outlet to prevent backflow when the pump stops.
- For tanks, the valve can be placed on the inlet or outlet pipe.
Installation orientation:
- Swing check valves should be installed horizontally so the disc can close by gravity.
- Avoid vertical or inclined installation, as it may cause the disc to jam and lead to leaks.
Special notes:
- Choose a valve size that matches the pump outlet to minimize pressure loss.
- Install a Y-strainer before the valve if the water source contains sediment, to prevent valve blockage or disc damage.
Compressed Air Systems – Maintain Stable Pressure
Technical requirements:
-
The check valve must ensure absolute airtightness and withstand high pressure fluctuations.
Installation location:
-
Install near the compressor outlet or before valve distribution assemblies.
Valve selection:
-
Prefer spring check valves made of brass or stainless steel, with threaded or flanged connections depending on pressure.
Installation tips:
- Use heat-resistant rubber gaskets or specialised thread sealant to prevent air leaks.
- Secure the air piping firmly to avoid vibrations that can loosen the valve.
Chemical Systems – Require Corrosion-Resistant Materials
Special requirements:
-
Valves must be made from chemical-resistant materials such as PVC, PP, PVDF, or stainless steel 316.
Valve selection notes:
- Avoid cast iron or carbon steel valves if the fluid is corrosive.
- For high-concentration chemicals, choose ball or spring check valves with Teflon (PTFE) seals.
Installation location:
- Avoid areas with high temperatures or direct sunlight (especially for plastic valves).
- It is recommended to shield or install valves inside technical cabinets to ensure safety.
Warning:
-
Using incorrect valve materials can cause toxic leaks, corrosion, or equipment damage within hours of operation.
High Temperature/Pressure Systems – Choose Specialised Materials
Harsh working environment:
-
Commonly found in boilers, hot oil systems, and steam systems, requiring extremely durable valves.
Valve selection:
-
Use black steel, stainless steel 304/316, or special ductile iron valves certified for high temperature resistance.
Installation requirements:
- Absolutely avoid using plastic or regular rubber materials.
- Double-check operating pressure ratings (PN16, PN25, etc.) and temperature tolerance (up to 400°C) before installation.
Safety notes:
- Do not install valves at the lowest points on steam pipes to avoid condensate accumulation and rust.
- Always shut off power and fully depressurise before disassembling any components.
Safety Measures & Post-Installation Inspection
No matter how technically correct the installation process is, if safety rules are not followed and the final inspection step is skipped, the system can still face issues during actual operation. This is especially critical for systems with high pressure, high temperature, or hazardous fluids (chemicals, steam, etc.). Testing, pressure checks, and safety assurance are mandatory steps.
Safety Rules During Installation
Before, during, and after installation, technicians must strictly follow these safety measures:
- Completely shut off the fluid supply: Prevents pressure build-up, causing backflow and hazards during installation.
- Depressurize and cool down the system (if applicable): Especially important for steam, hot oil, or chemical systems.
- Wear full personal protective equipment (PPE): Heat-resistant gloves, safety goggles, chemical masks, helmets.
- Never install valves in hazardous locations: Avoid places like the bottom of steam pipes (where condensate causes corrosion) or areas with no space for future inspection.
- Do not overtighten: Especially with threaded valves — overtightening can crack the valve body or damage the threads.
For outdoor systems, cover the valve body with protective caps to shield it from rain, sunlight, and dust, thereby extending equipment lifespan.
Leak Testing – Pressure Testing According to Standards (API, ISO, etc.)
Immediately after installation, a trial run and pressure leak test must be performed to confirm proper valve operation and ensure no issues arise:
Step 1: Trial Operation
- Gradually open the fluid supply to avoid pressure shock.
- Observe if the valve opens in the correct direction and closes automatically when the flow stops.
- Verify that the flow direction matches the arrow indicated on the valve body.
Step 2: Leak Inspection
- Inspect all joints (threaded, flanged, glued, etc.) during the first 5–10 minutes of operation.
- For air systems, use soapy water to detect bubbles; for liquids, use a dry white cloth to spot leaks.
- If leakage is found, re-tighten bolts or replace gaskets/sealants as necessary.
Step 3: Pressure Testing (for critical systems)
Applicable to industrial systems, fire protection (PCCC), and steam lines:
- Shell Test: Tests the valve body for integrity — usually performed at 1.5 times the operating pressure.
- Seat Test: Valve is fully closed and pressure is held for 5–10 minutes to check for leakage through the seat.
- Backseat Test (if applicable): Ensures no leakage occurs at the stem or bonnet area — relevant for valves with handwheels or mechanical actuators.
-
-
The correct valve type is selected based on the fluid and operating conditions
-
The valve is installed in the correct flow direction and orientation as recommended
-
All connections are tightened and sealed properly according to the specific connection type
-
Leak tests and regular maintenance are carried out to maintain optimal performance
Scheduled Maintenance After Installation
Regular maintenance and inspection of check valves are essential to detect early issues such as:
- Worn or misaligned valve disc
- Aged, hardened, or torn sealing gaskets
- Debris obstructing the opening/closing mechanism
Recommended inspection intervals:
- Every 6 months for continuously operating systems
- Every 12 months for intermittent systems or clean fluids
- Perform cleaning – disassembly – inspection – lubrication (if applicable) – gasket replacement as needed
Conclusion
Proper installation of check valves not only prevents backflow and maintains stable pressure but also protects the entire system from serious issues such as water hammer, leakage, or pump failure.
However, the valve’s true performance can only be ensured if:
- The correct valve type is selected based on the fluid and operating conditions
- The valve is installed in the correct flow direction and orientation as recommended
- All connections are tightened and sealed properly according to the specific connection type
- Leak tests and regular maintenance are carried out to maintain optimal performance
Why Choose Bao Tin Steel
With extensive experience supplying and supporting thousands of valve systems across industrial, residential, and fire protection (PCCC) applications, Thép Bảo Tín is a trusted partner for all your check valve, industrial valve, and piping accessory needs.
Need Technical Advice or a Quotation for Check Valves?
Don’t hesitate to contact our team:
📞 Technical & Sales Hotline: 0932 059 176
📧 Support Email: bts@thepbaotin.com